

Overview
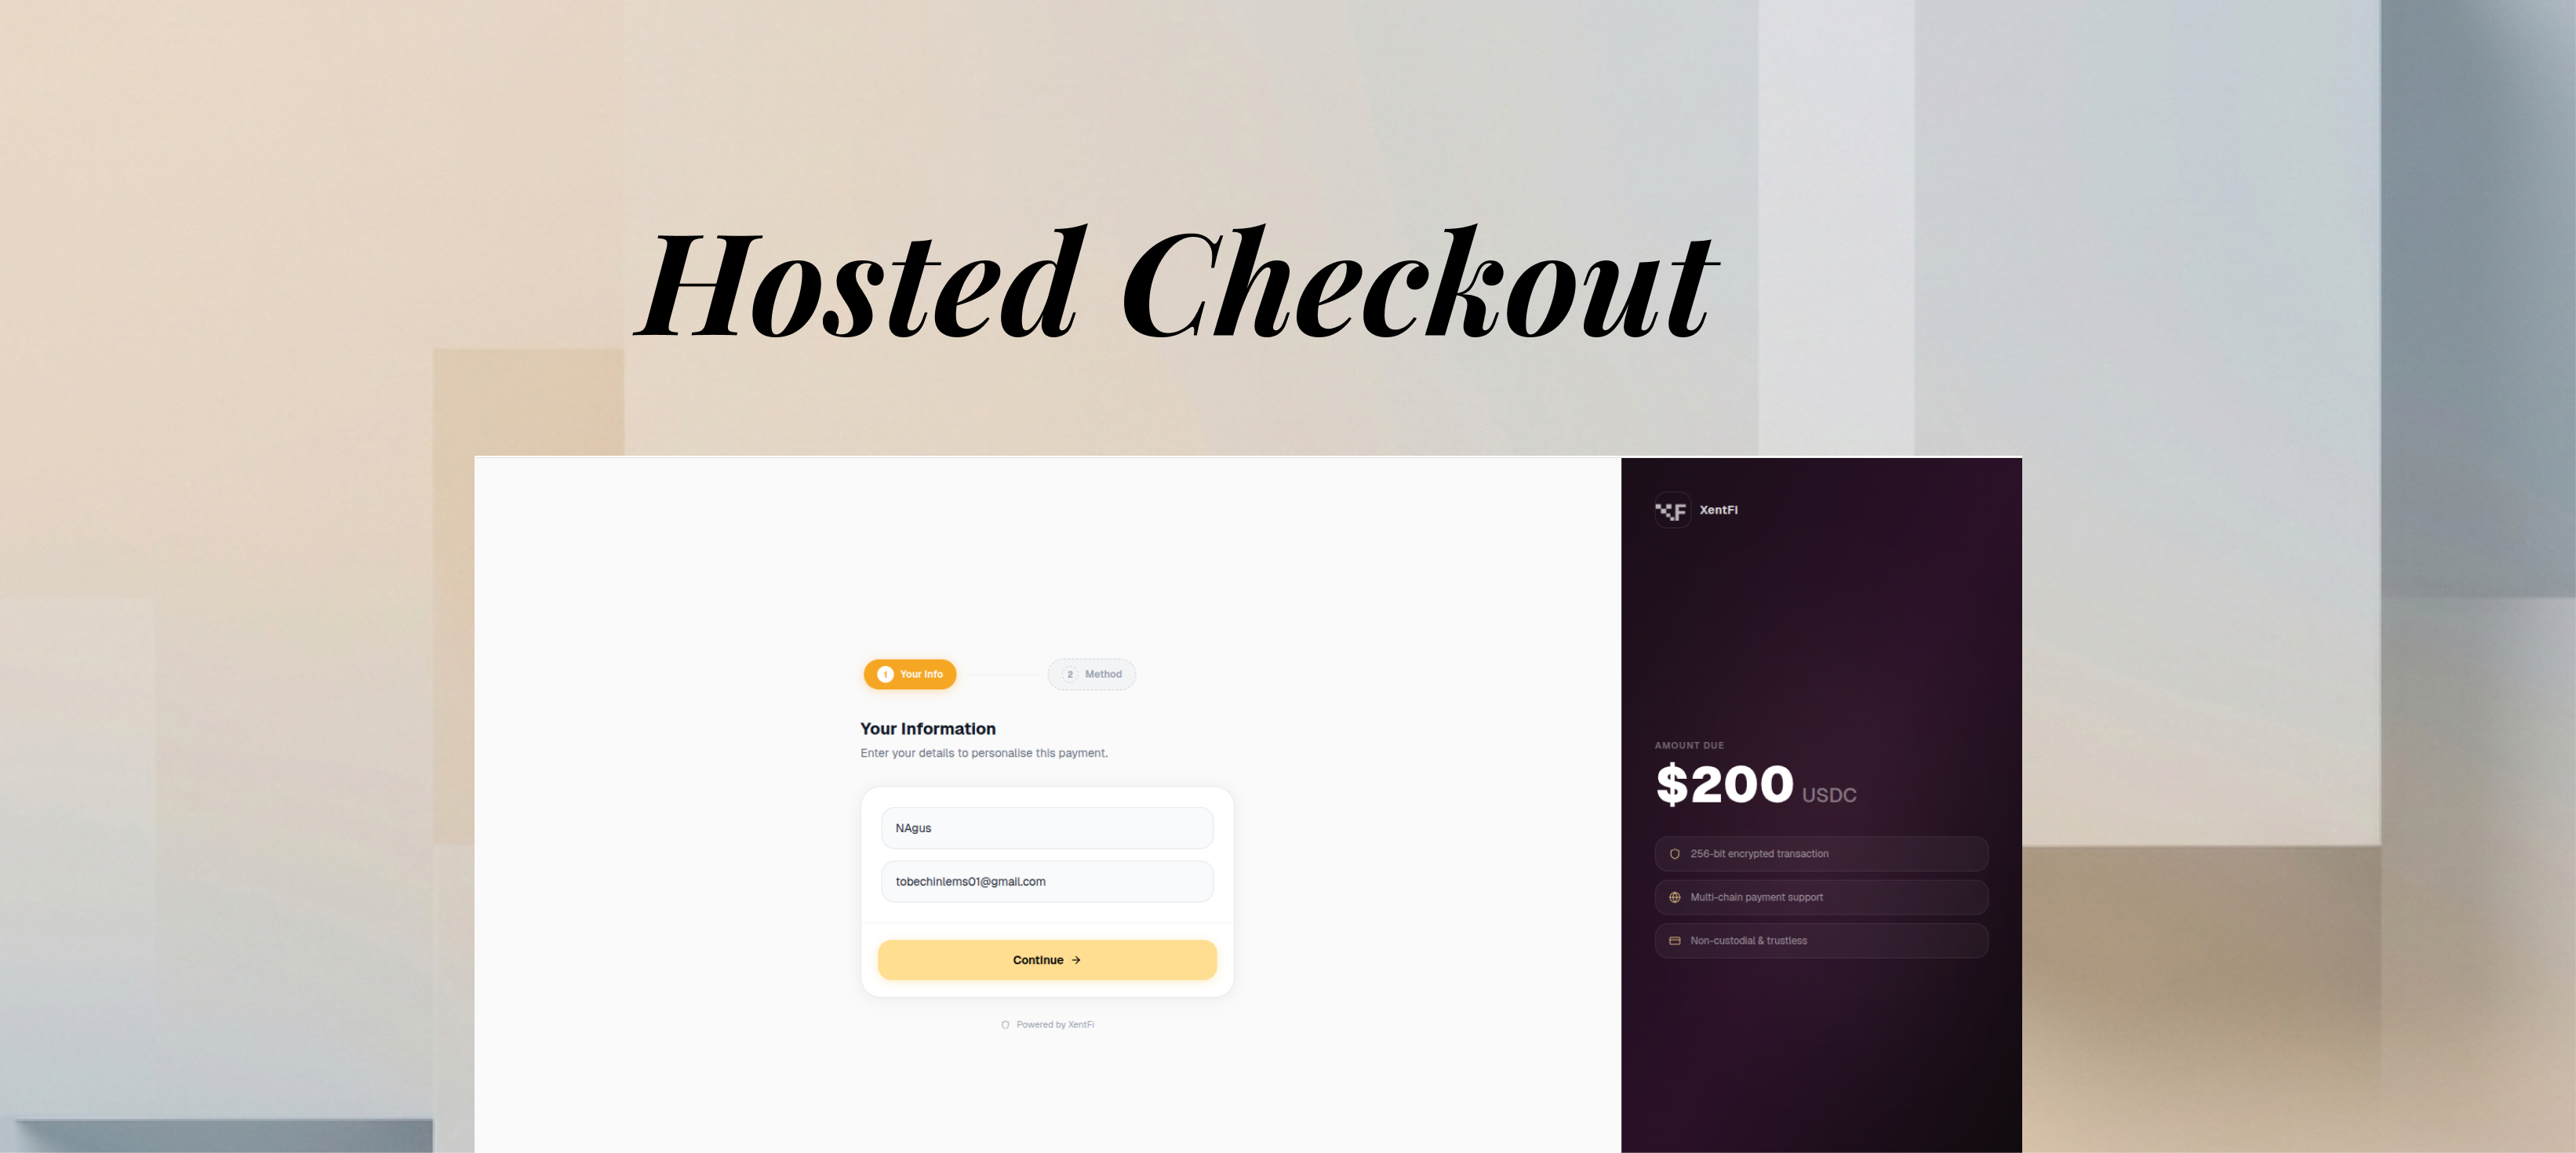
Why Use Payment Links?
🚀 No Code Required
Launch a payment page in minutes without any development - just generate and share
💳 Multiple Payment Methods
Support both Wallet Connect and deposit address payments in a single link
🎨 Custom Branding
Customize the payment page with your logo, colors, and success messages
📊 Built-in Analytics
Track payment status, conversion rates, and customer behavior
🔒 Secure by Default
Enterprise-grade security with automatic fraud detection and AML screening
🔄 Recurring Payments
Create links for subscription billing with configurable payment limits
Prerequisites: Enable Monitoring
Before creating payment links, you must enable blockchain monitoring on your master wallet. This allows XentFi to detect incoming payments and trigger settlement rules.Via Dashboard
1
Navigate to Wallet
Go to Wallets in the sidebar and select your master wallet
2
Open Configuration Tab
Click the Configuration tab in the wallet detail view
3
Enable Blockchain Monitoring
Under Blockchain Monitoring, toggle on the blockchain networks you want to monitor (e.g., Base, Ethereum, Polygon)
4
Enable Multichain Mode (Optional)
If you want to accept payments across multiple blockchains, toggle Multichain Mode on. This allows deposit addresses and settlement rules to span multiple networks.
5
Verify Active Chains
Confirm that at least one blockchain shows as Monitoring active with the green indicator
 The Configuration tab shows all available blockchains with toggle controls for monitoring.
Via API
Monitoring Configuration Options
Supported Blockchains for Payment Links
How Payment Links Work
Use Cases
One-time Payments
Recurring Payments
Marketing Campaigns
Creating Payment Links
Via Dashboard
1
Navigate to Payment Links
Go to Payment Links in the sidebar
2
Create New Link
Click the Create Payment Link button
3
Configure Link
Fill in the payment details:
- Name: Descriptive name for the link
- Amount: Payment amount
- Currency: USD or crypto
- Redirect URL: Where to send customers after payment
4
Review and Create
Review settings and click Create Payment Link
Via API
Response Example
Payment Page Experience
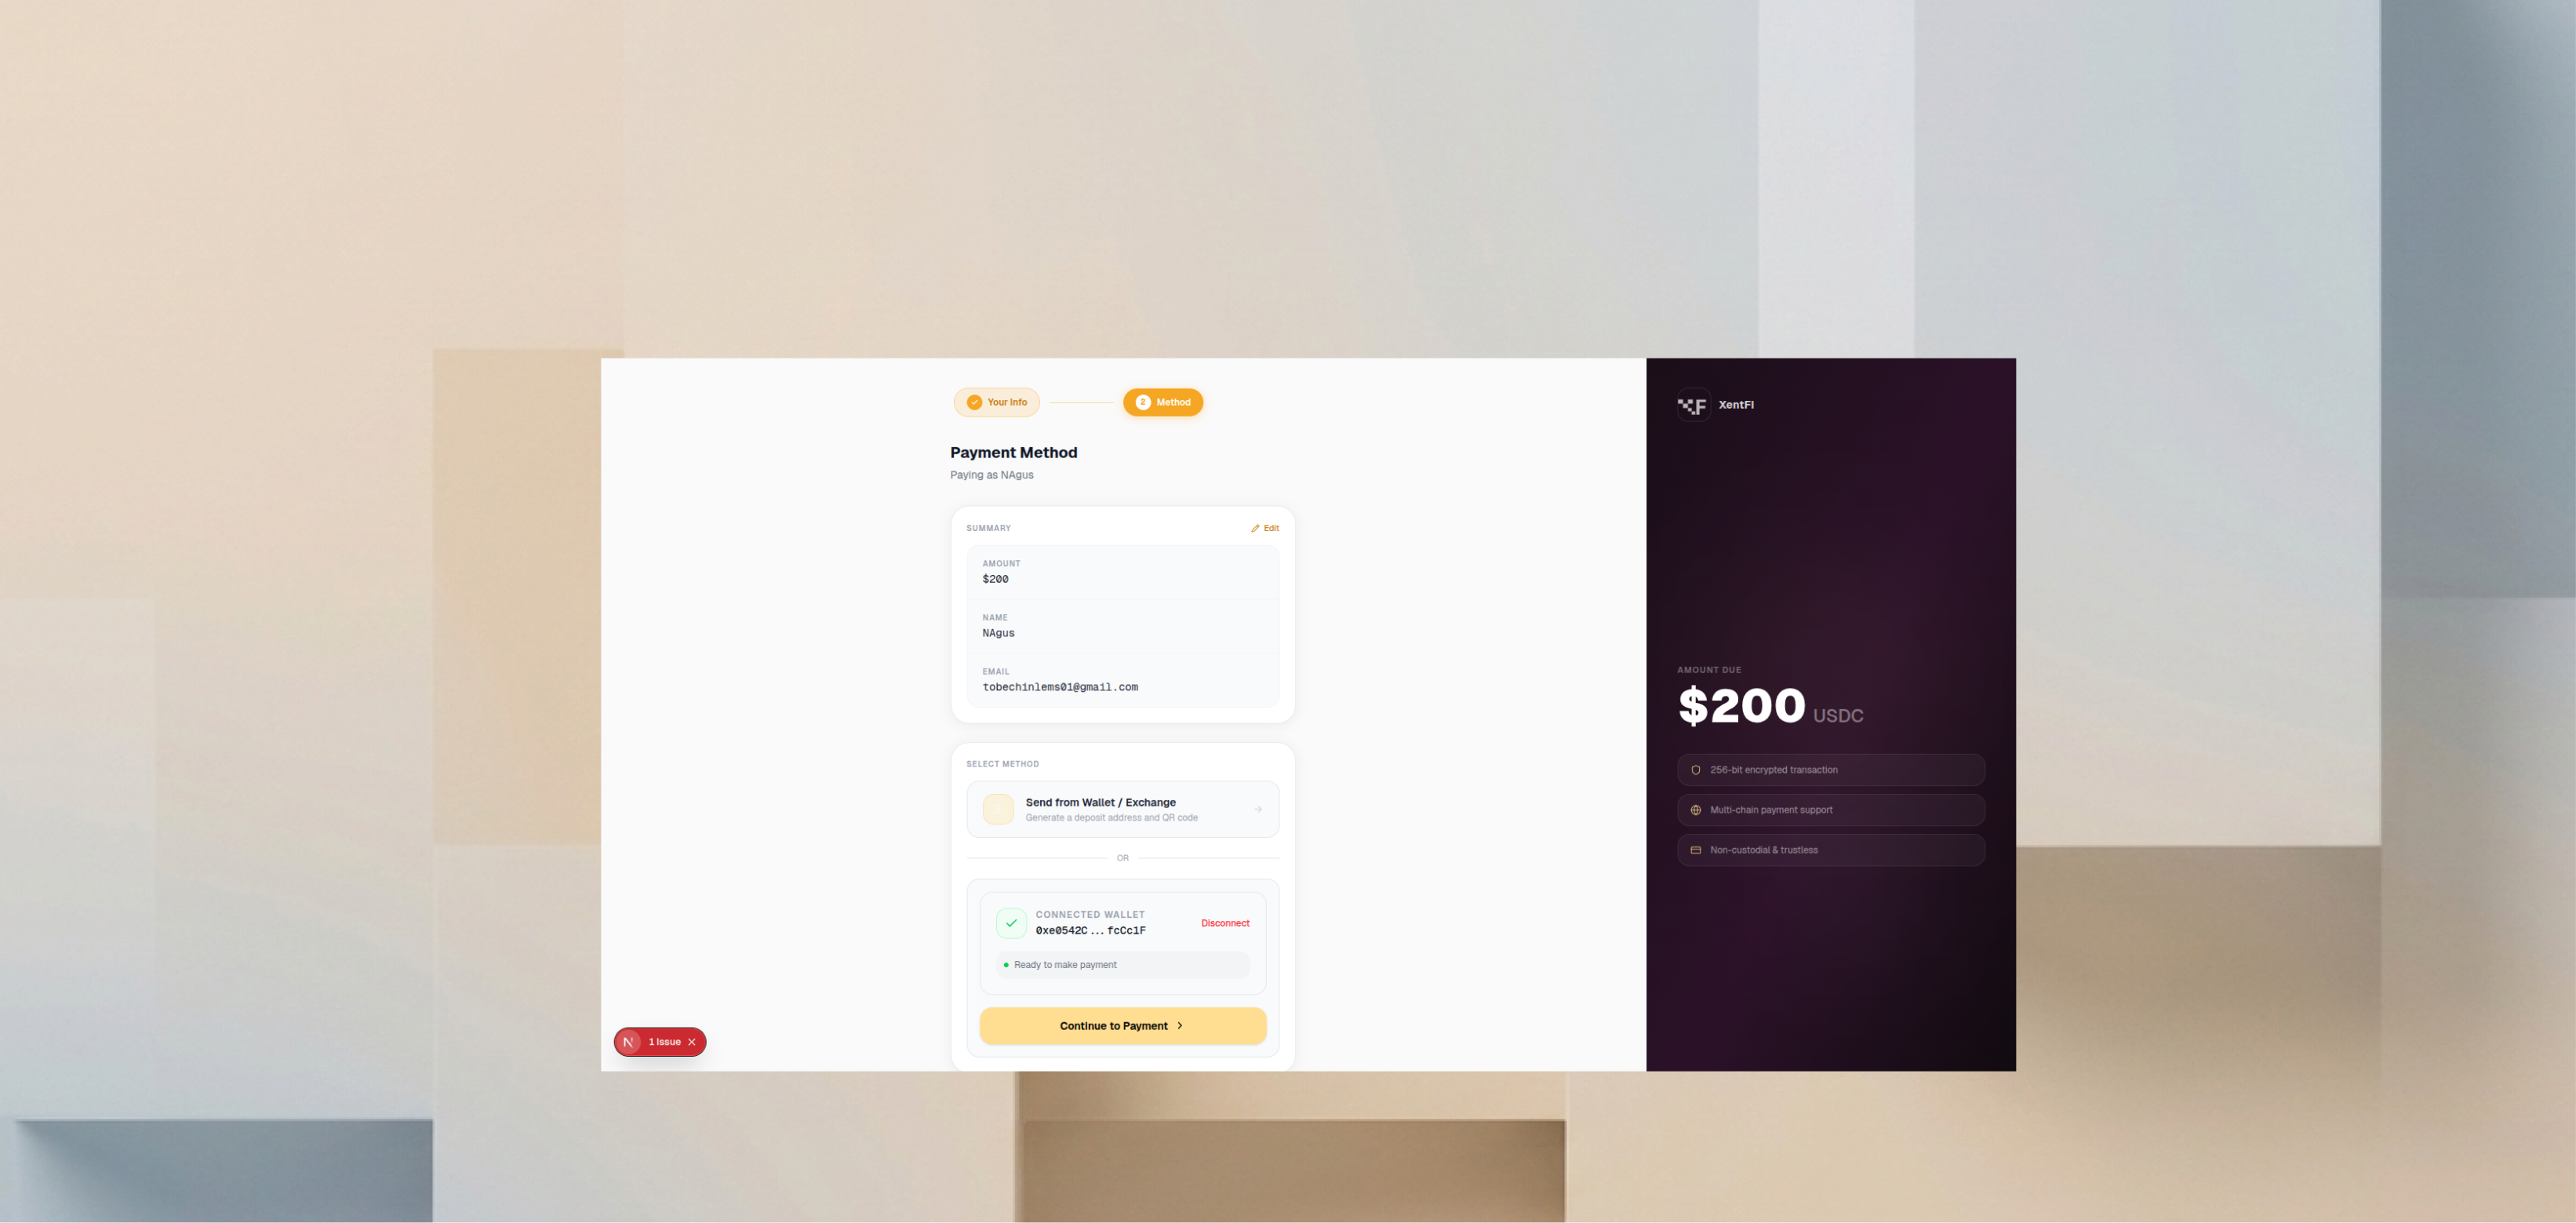
Customer Journey
1
Customer Clicks Link
Customer opens the payment link in their browser
2
Enters Details
Optional: Customer provides name and email
3
Selects Payment Method
Choose between Wallet Connect or deposit address
4
Completes Payment
Customer pays using their preferred method
5
Redirected to Success Page
Automatic redirect to your configured URL
Payment Methods
Wallet Connect
Deposit Address
Payment Status Flow
Payment Limits & Expiration
Payment Limits
Control how many payments a link can accept:Expiration Settings
Customization Options
Branding
Redirect Behavior
Webhook Events
Analytics & Reporting

Available Metrics
Best Practices
- Use descriptive names - Include product name, customer ID, or invoice number
- Set payment limits - Prevent overpayment for limited-use links
- Configure redirect URLs - Always provide success/failure redirects
- Add metadata - Store internal references for reconciliation
- Monitor webhooks - Implement proper webhook handling
- Enable monitoring - Ensure at least one blockchain is monitored for payment detection
- Test thoroughly - Use testnet before going live
Payment Link vs Deposit Address
Troubleshooting
Link shows 'Payment limit reached'
Link shows 'Payment limit reached'
Solution: The link has reached its maximum number of payments. Create a new link or increase the payment limit.
Customer sees wrong amount
Customer sees wrong amount
Possible causes:
- Exchange rate fluctuations
- Different network selected
- Token price changes
Redirect not working
Redirect not working
Possible causes:
- Invalid URL format
- CORS issues
- Missing protocol (https://)
https:// and are publicly accessible.Webhook not received
Webhook not received
Solution:
- Verify webhook is configured
- Check endpoint is publicly accessible
- Review webhook logs in dashboard
Performance Benchmarks
Pricing
Compliance
Related Products
Master Wallets
Receive payments to your treasury
Webhooks
Real-time payment notifications
Auto Settlement
Automatic fund distribution
Next Steps
- Set up webhooks for real-time notifications
- Configure auto-settlement for fund distribution
- Review API Reference for complete endpoint documentation