Overview
Key Features
🏦 Central Treasury
Single point of control for all your crypto funds with multi-chain support
🔐 Enterprise Security
Bank-grade security with AES-256 encryption and HSM integration
📊 Real-time Analytics
Live transaction monitoring and comprehensive reporting dashboard
🔄 Auto Settlement
Automated fund distribution based on configurable rules
🌐 Multi-chain
Support for 7+ major blockchains including Ethereum, Base, and Solana
📈 Scalable
Handle thousands of transactions with enterprise-grade infrastructure
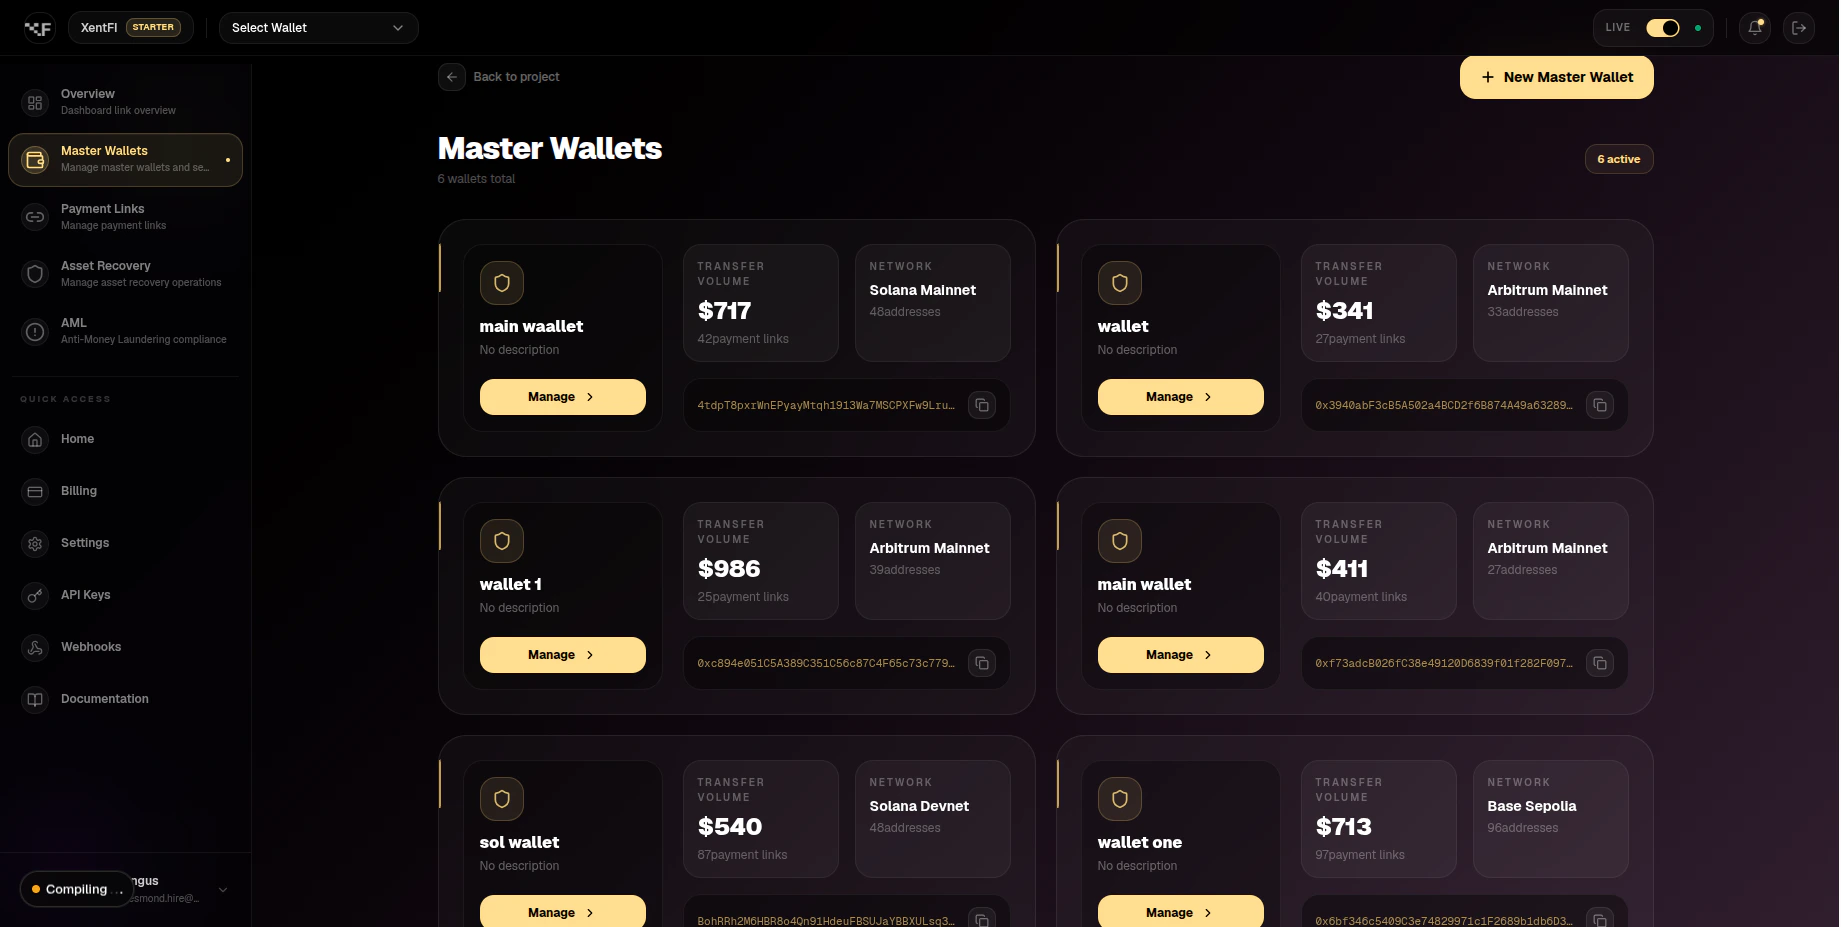
Dashboard Overview
 The master wallet dashboard provides a comprehensive view of your treasury operations.
Supported Blockchains
Prerequisites
Before creating a master wallet, ensure you have:- ✅ A verified XentFi account
- ✅ API key and App ID from the dashboard
- ✅ Selected target blockchain
- ✅ Understanding of gas fees for your chosen network
Creating a Master Wallet
Via API
Via Dashboard
1
Navigate to Wallets
Log into your dashboard and click Wallets in the left sidebar.
2
Create New Wallet
Click the Create Wallet button in the top right corner.
3
Configure Wallet
Fill in the wallet details:
- Name: A descriptive name (e.g., “Production Treasury”)
- Blockchain: Select your target blockchain
- Description: Optional description
- Enable Monitoring: Toggle for transaction alerts
4
Review and Create
Review your settings and click Create Wallet.
Response Example
Quick Guide: Wallet Configuration
Auto-Sweep Configuration
Auto-sweep automatically moves funds from deposit addresses to your master wallet, consolidating funds and reducing gas costs.Testing on Development
1. Set Up Test Environment
1
Create Test Wallet
Create a wallet on testnet (Sepolia, Mumbai, or Solana Devnet):
2
Get Test Funds
Use public testnet faucets to fund your test wallet:
- Sepolia ETH: sepoliafaucet.com or Alchemy Sepolia Faucet
- Mumbai MATIC: Polygon Faucet
- Base Testnet: Base Faucet
- Solana Devnet: Solana Faucet
3
Verify Balance
Check your test wallet balance:
2. Test Transaction Flow
Best Practices
Security
API Key Management
API Key Management
- Rotate API keys every 30 days
- Use different API keys for development and production
- Never commit API keys to version control
- Store keys in environment variables or secure vault
- Use read-only API keys for monitoring dashboards
Wallet Security
Wallet Security
- Enable monitoring for all production wallets
- Set up webhook alerts for large transactions
- Use multi-signature wallets for large treasuries
- Regularly audit transaction history
- Implement IP whitelisting for API access
Network Selection
Network Selection
- Always test on testnet before mainnet
- Consider gas fees when choosing networks
- Use Layer 2 networks (Base, Polygon) for high-volume transactions
- Monitor network congestion and adjust gas settings
Development
Testing Strategy
Testing Strategy
- Test all wallet operations on testnet
- Simulate edge cases (low balance, network errors)
- Test auto-sweep with different thresholds
- Validate webhook integrations
- Test recovery flows with test tokens
Error Handling
Error Handling
- Implement exponential backoff for retries
- Handle network timeout errors gracefully
- Log all API errors for debugging
- Set up monitoring alerts for failed transactions
- Validate all addresses before sending funds
Transaction Management
Transaction Management
- Batch similar transactions to save gas
- Use idempotency keys for critical operations
- Monitor pending transactions
- Set transaction timeouts
- Implement transaction status polling
Performance Optimization
Development vs Production
Transaction Volume Tiers
Use Cases
E-commerce
Accept crypto payments for online stores with automatic settlement to your treasury
SaaS Subscriptions
Manage recurring crypto payments with subscription billing
Invoice Payments
Generate unique addresses per invoice for easy reconciliation
Crypto Treasury
Centralized management of corporate crypto assets
Troubleshooting
Wallet creation fails with 'Blockchain not supported'
Wallet creation fails with 'Blockchain not supported'
Solution: Verify the blockchain ID is correct. Use
list-supported-blockchains endpoint to get valid IDs.Cannot find wallet
Cannot find wallet
Solution:
- Confirm wallet ID is correct
- Check if wallet belongs to your app ID
- Verify wallet hasn’t been deactivated
Monitoring not working
Monitoring not working
Solution:
- Ensure blockchain webhook is configured
- Check if monitoring was properly enabled
- Verify webhook URL is accessible
High gas fees
High gas fees
Solution:
- Consider using L2 solutions like Base or Polygon
- Enable gasless withdrawals for users
- Batch transactions when possible
Rate limit exceeded
Rate limit exceeded
Solution:
- Implement exponential backoff
- Cache responses when possible
- Upgrade to higher tier plan
Migration to Production
1
Test on Testnet
Create test wallets on Sepolia or Mumbai testnets
2
Verify Functionality
Test all wallet operations with test tokens from public faucets
3
Generate Production Keys
Create new API keys with production environment
4
Create Production Wallets
Deploy wallets on mainnet networks
5
Configure Auto-Sweep
Set up auto-sweep with appropriate thresholds
6
Enable Monitoring
Turn on monitoring for all production wallets
7
Go Live
Update your application configuration and launch
API Reference
Support Resources
- 📧 Email: support@xentfi.com
- 💬 Discord: Join our community
- 📚 API Reference: Complete documentation
- 🐛 Issues: GitHub Issues
Next Steps
Deposit Addresses
Create addresses for customer payments
Auto Settlement
Automate fund distribution
Payment Links
Generate hosted payment pages